A complete step-by-step guide to create and run your first bot using TeleBotHost.
Open your browser and go to https://telebothost.com/. This is the main platform where you can manage all your bots.

Click the Get Started button to proceed. You will be redirected to the login/signup page.
Login with your credentials or create a new account if you don’t have one. After logging in, you will see your dashboard.
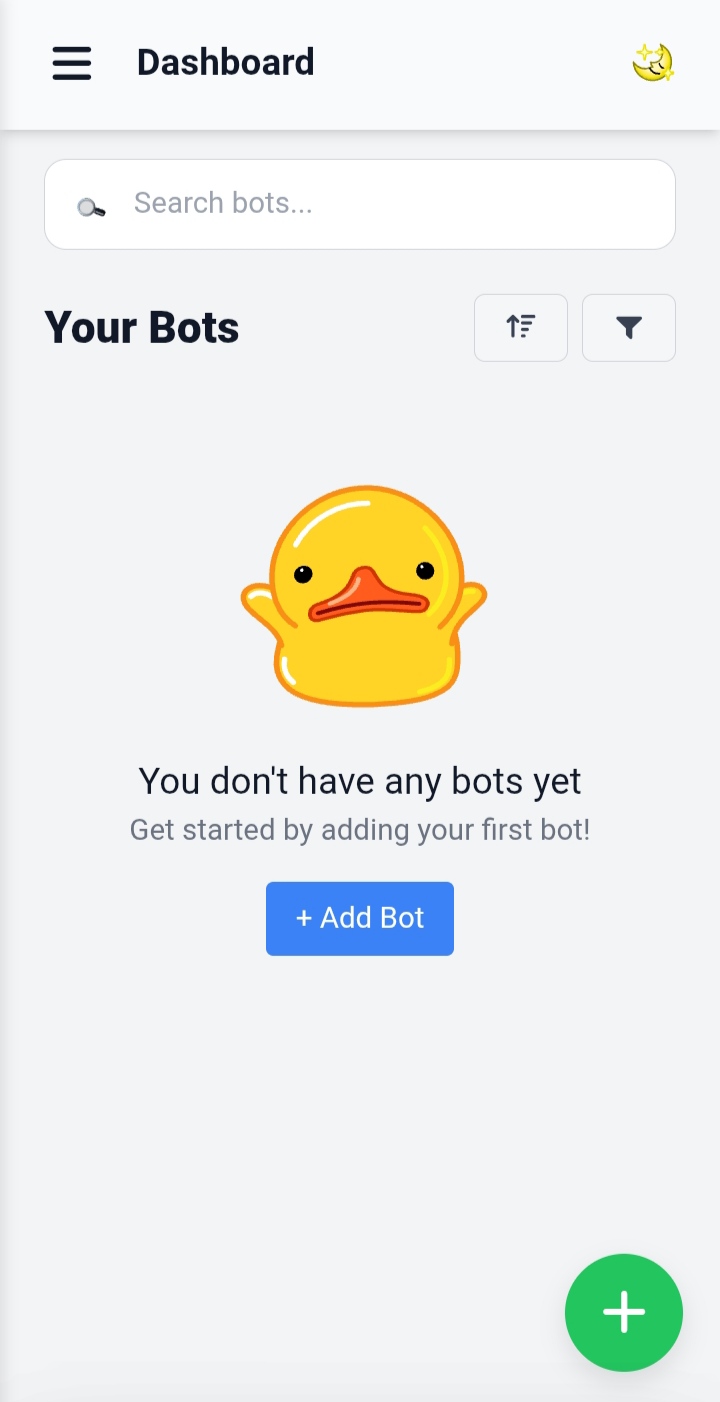
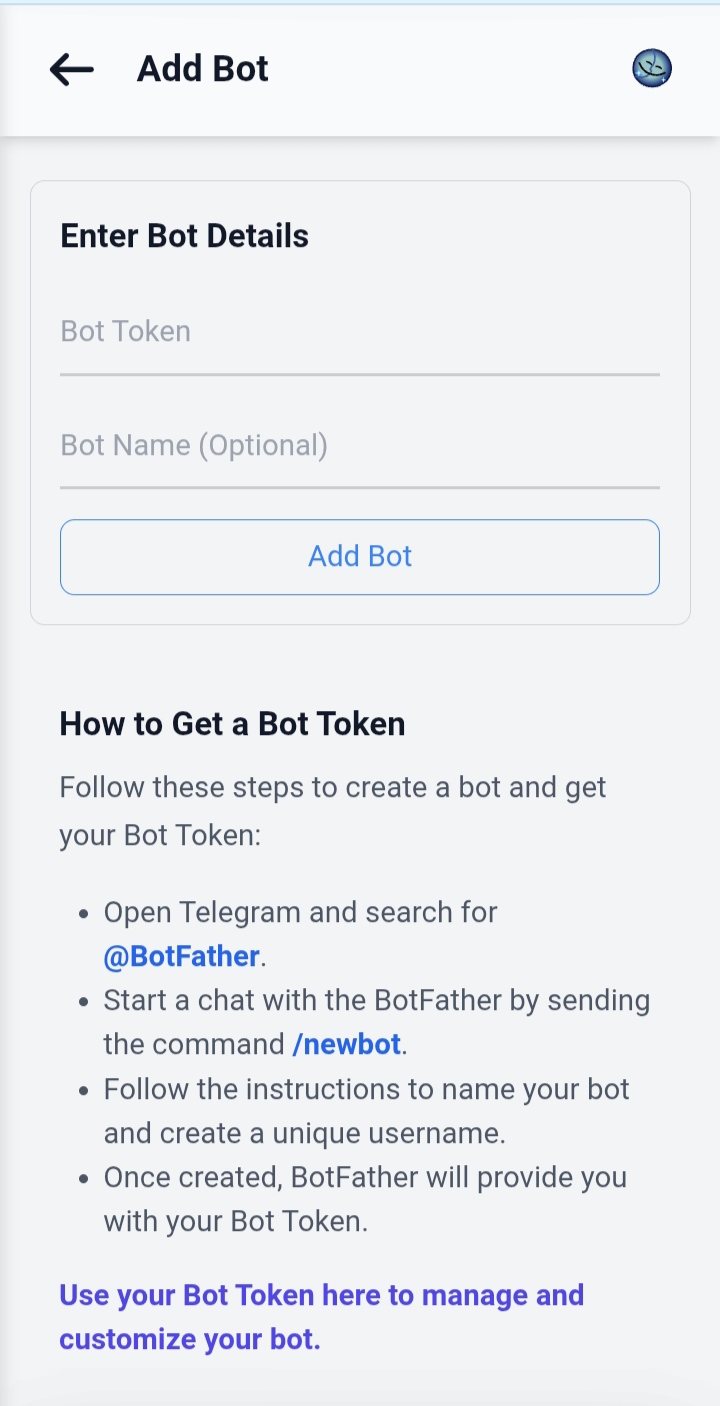
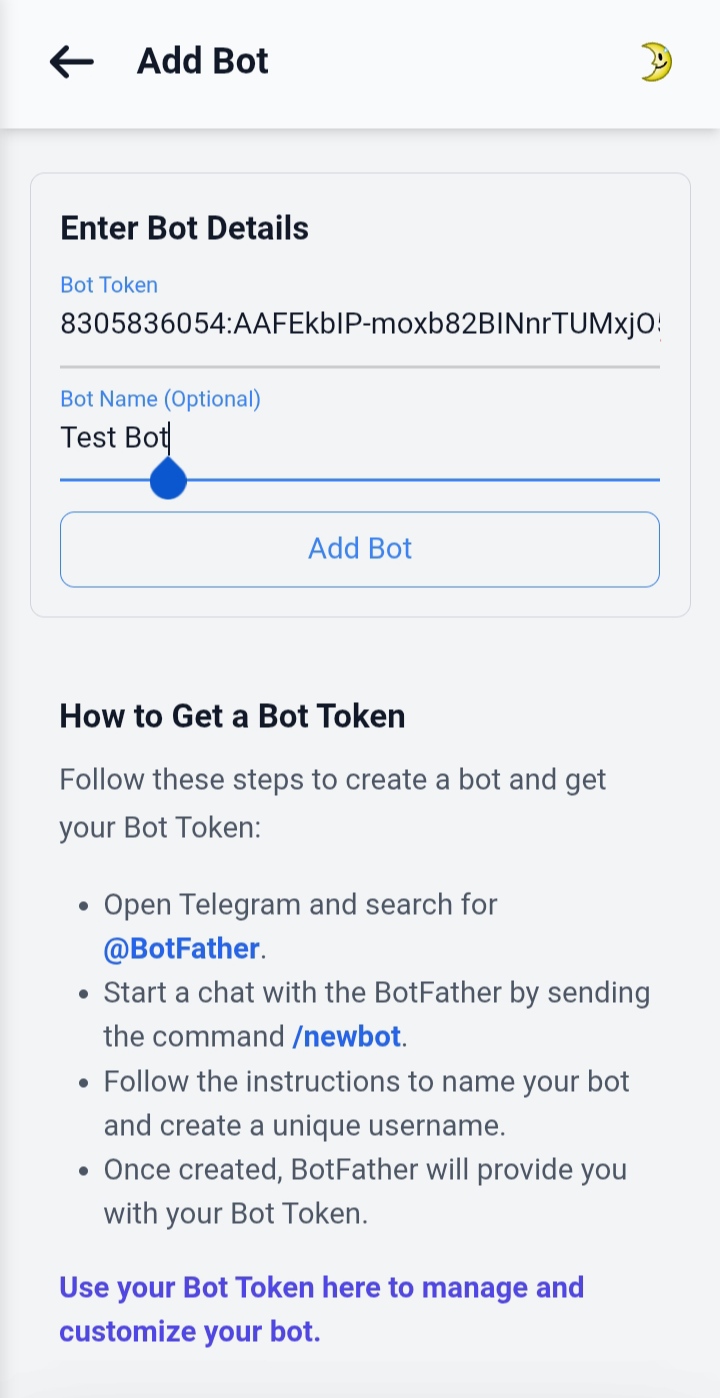
On the dashboard, locate the Add Bot button or the + icon and click it. A modal will appear asking for your bot token.
To create a Telegram bot and get its token, you need to use @BotFather on Telegram:
/newbot.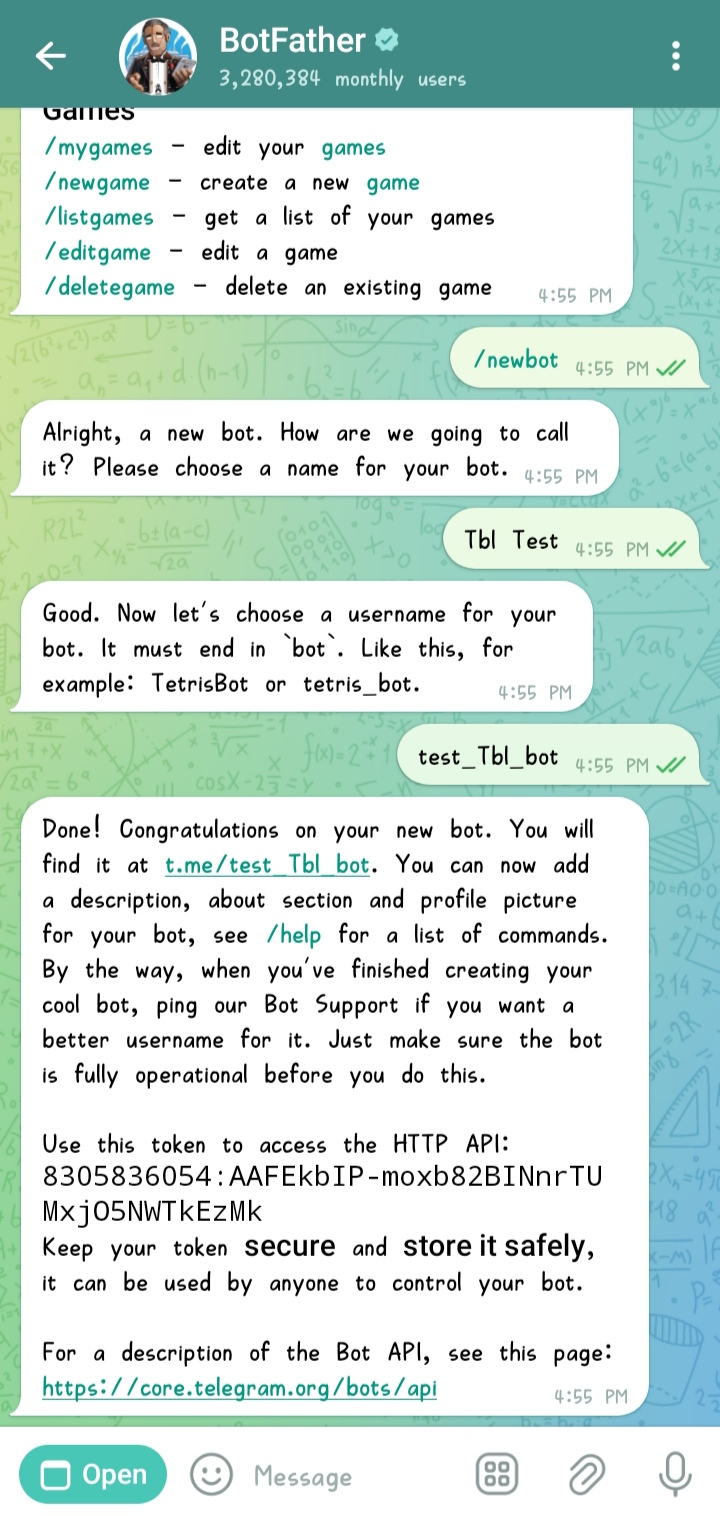
Paste your bot token into the input box in the modal. You can also give your bot a custom name for easy identification.
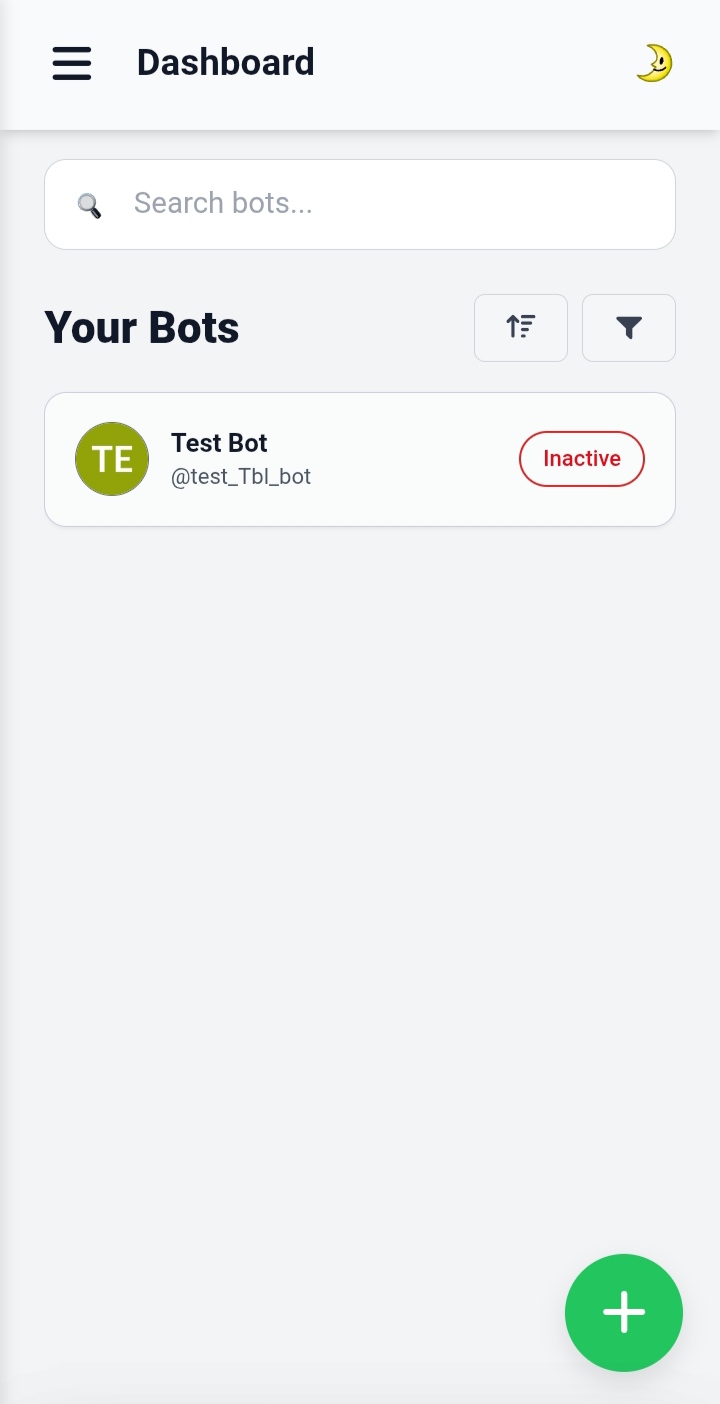
After adding the token, your bot will appear in the bot list. Click on your bot’s name to access its management panel.
Click Launch Bot to activate it. Your bot is now live and ready to receive commands.
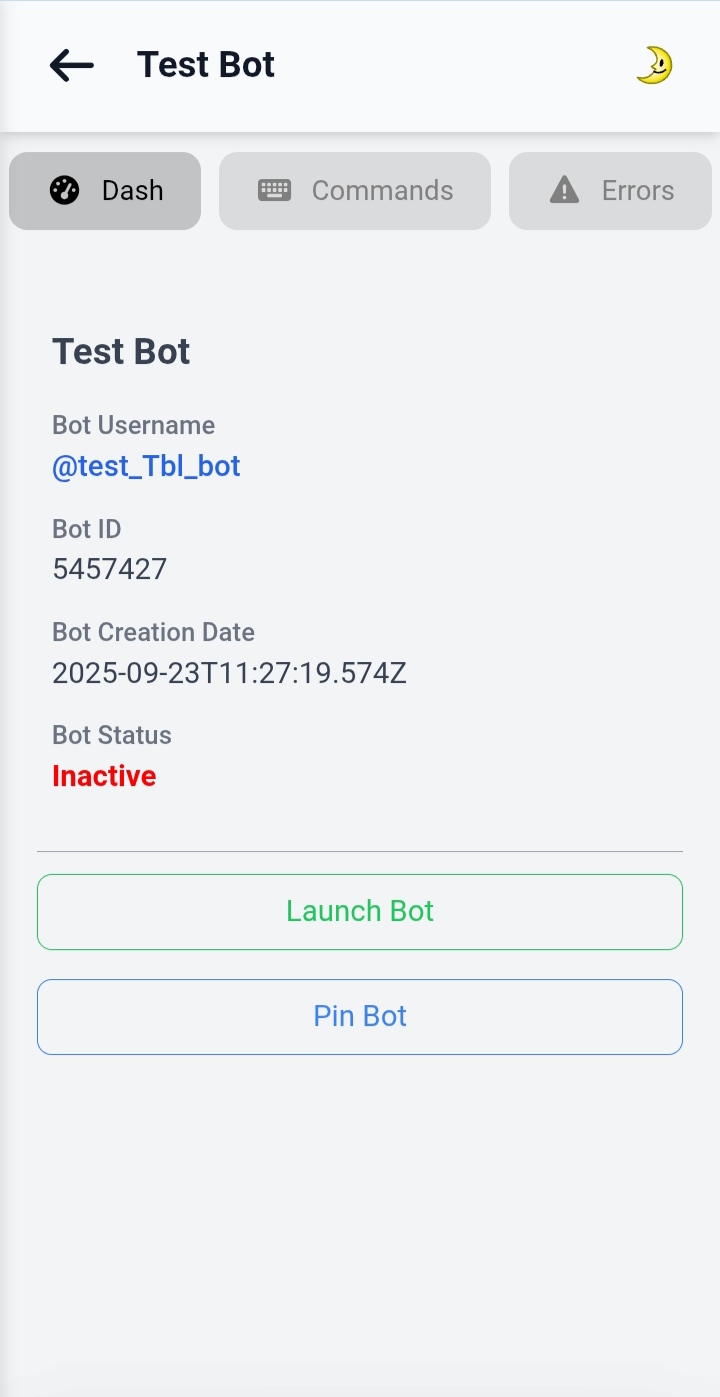
On top of the bot panel, click the Commands button. Here you can add and manage commands for your bot:
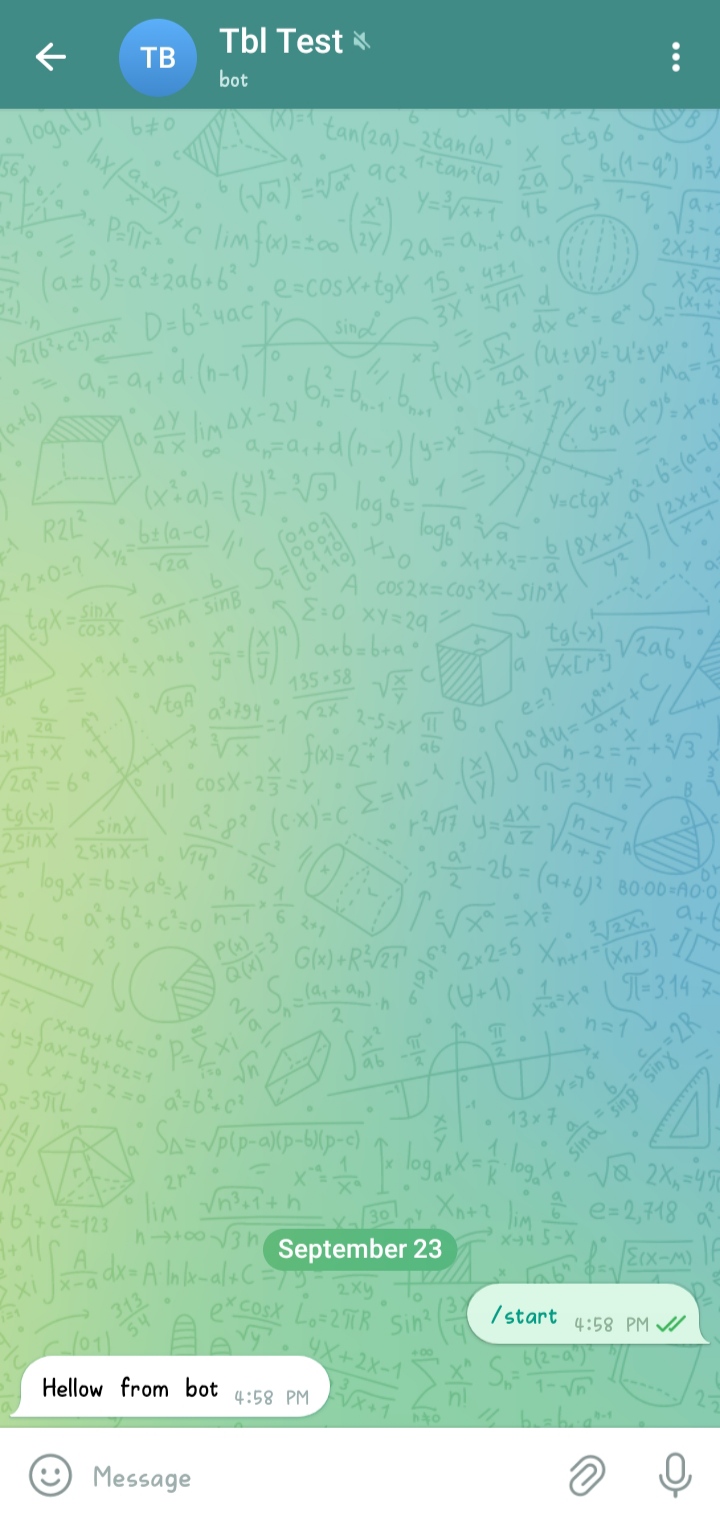
/start as the command.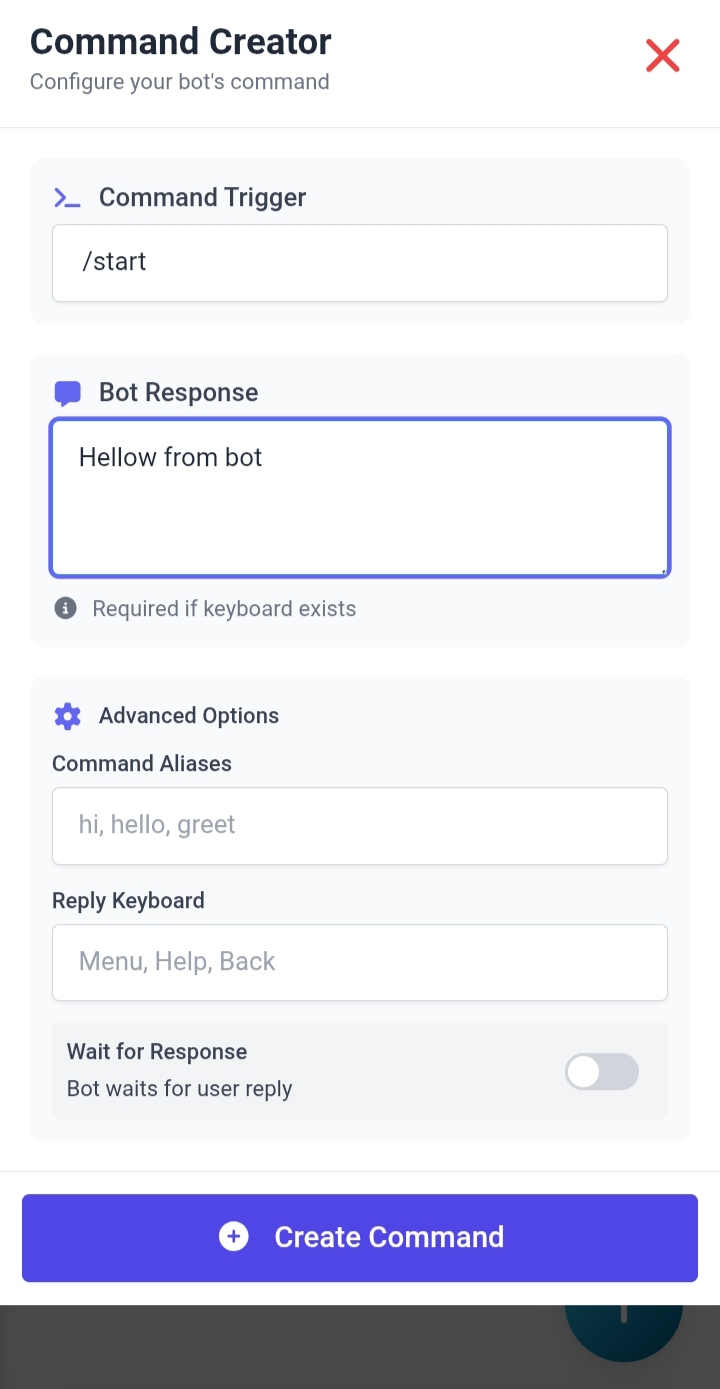
Go to Telegram, open your bot, and send /start. Your bot will reply with the message you set, e.g., "Hi from bot".
Congratulations! 🎉 You have successfully added your first bot. Explore the documentation for advanced features like:
Visit /docs to unlock the full potential of your bots!